Instead of lifting each sheet from the bottom and pulling it off of the pad in a vertical direction, lift each sheet from the side.
– post-it.com, Tips for creating Post-it® Super Sticky Note pixel art
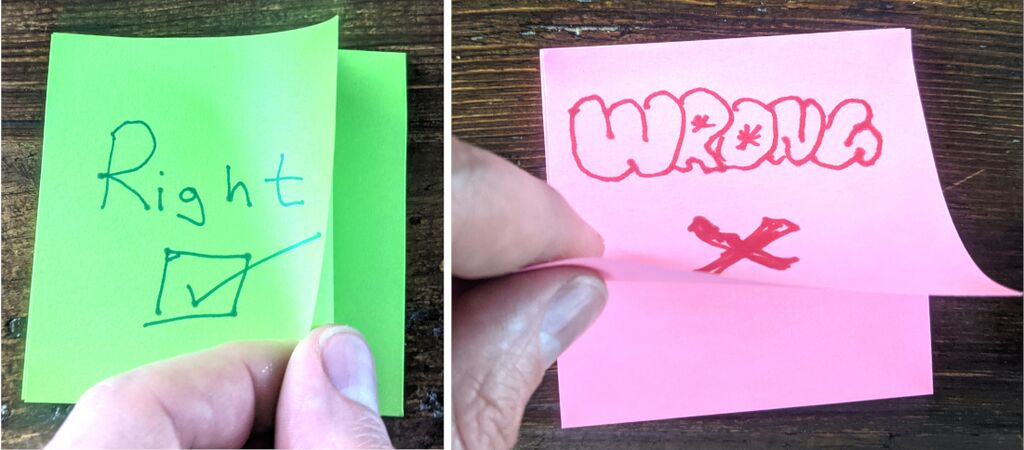
💡 tl;dr: Always peel post-its from the side, not the bottom.
🌠 The More You Know 
This is a public service announcement: you’re peeling your sticky notes all wrong.
But you’re not alone; I only learned how to properly peel a Post-It at an in-person offsite in 2015.
As our team worked, we noticed some of our Post-Its were curlier than others. And the curlier Post-Its tended to fall off the wall.
Our facilitator diagnosed our dispair, “If you peel post-its from the side, they don’t curl up.”
🧐 Why this works 
3M scientists Spencer Silver and Art Fry gifted the Post-It to humanity.
The Post-It’s magic is its microsphere adhesive, discovered in 1968 by Silver; it affords Post-Its the singular ability to stick and unstick from paper without damaging it.
A Post-It’s easy unstickability is its biggest feature and its downfall.
When you yank a note from the bottom, it curls. That curling is just enough force to lift the note off the paper, the whiteboard, or whatever it’s stuck to.
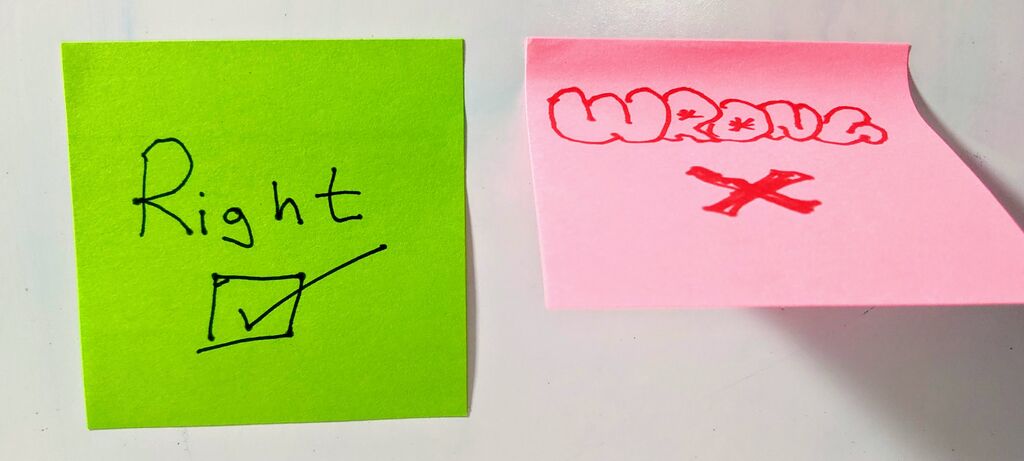
So the next time you’re slingin’ stickies, just remember: one rule you must abide: always peel a Post-It® from the side.